
 Back
BackFrame sides
Frame sides (Top/ Bottom/ Left/ Right) Application main window provides the framework upon which application user interface is built where controls will be shown in form you define. Remark: "Blit" drawing mode should be selected for frame corner sections. This drawing mode incorporated in SkinBuilder specifically for Window Frame prevents image resizing in all directions during overall zooming.
Frame Top side assembling
Now be guided by the following example of Frame Top side assembling. The steps to take are as follows:
 Check the appropriate checkbox in front of "Window Frame" item in "Default Controls" pane to allow the operations to be displayed in Preview area.
Expand the "Window Frame" item by clicking on plus sign in "Default Controls".
Select "Top Side" item in subsection appeared after clicking mouse left button.

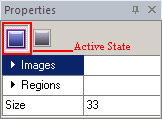
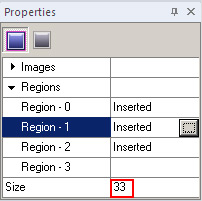
You will see properties pane on the right that have two states: Active and Inactive. Active state contains images/regions group fields and size field. Inactive state have only images group field.

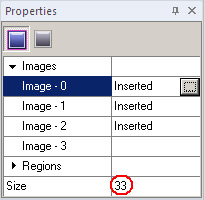
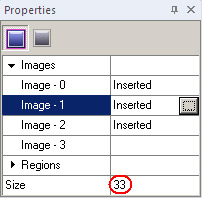
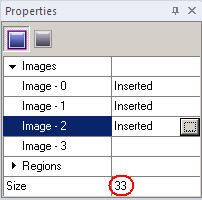
Insert image files in "Images" group fields ("Image 0", "Image 1" and etc.) pressing the "Browse" button  for file selection.
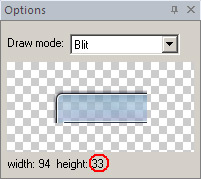
As images are inserted assign the Drawing mode in "Option pane". Remember, "Blit" drawing mode must be assigned for corner frame parts.
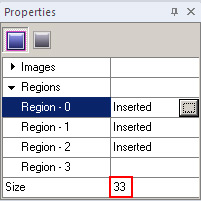
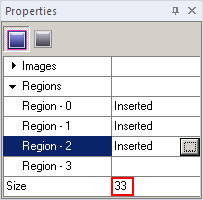
Specify the target regions in case you created them earlier or build these regions for each image in case they are still not created. You can build target regions by means of Region Editor.
Insert region files in "Regions" group fields ("Region 0", "Region 1" and etc.) pressing "Browse" button for file selection.
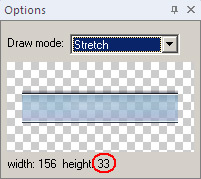
As regions are inserted assign the Drawing mode in "Option pane". Remember, "Blit" drawing mode must be assigned for corner frame parts. Drawing mode settings assigned for
images should be the same for the regions.
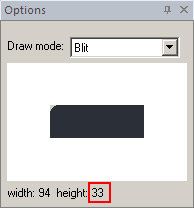
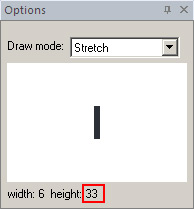
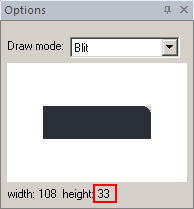
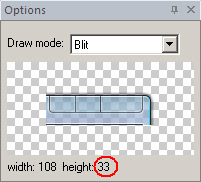
Set up the value of "Side width" contained in "Properties pane" according to
image width shown in the "Option pane" bottom side. Having "Side width" set up properly the full representation of frame side will be provided and you avoid edge defects.
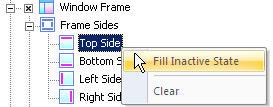
Repeat the paragraphs 4 and 5 for image handling in "Inactive" state available in "Properties pane". To save time you can fill inactive state with active state images or replace the content of Top (bottom/left/right) Side inactive state with data of active state. Do it just in two clicks.
 Notes:
- Frame side looks the same in "Active" and "Inactive" state eliminating the influence of regions omitted as an item in "Inactive" state properties.
- Choose "Clear" if you want to reset top (bottom/left/right) side control's properties.
Be guided by the steps described above for the rest of frame sides (Bottom/Left/ Right) assembling.